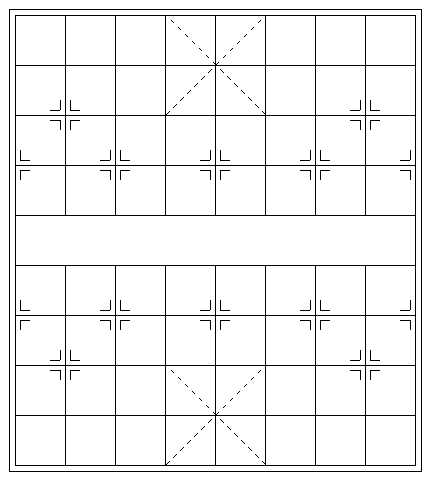
使用渐变实现网格
OK,首先,我们实现最简单的网格布局:
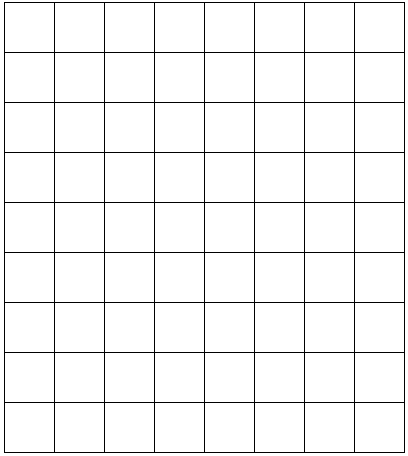
不考虑最外层的一圈边框,我们可以首先利用多重线性渐变实现一个网格布局:
<div class="g-grid"></div>.g-grid {
width: 401px;
height: 451px;
background: repeating-linear-gradient(
#000,
#000 1px,
transparent 1px,
transparent 50px
), repeating-linear-gradient(90deg, #000, #000 1px, transparent 1px, transparent
50px);
background-repeat: no-repeat;
background-size: 100% 100%, 100% 100%;
background-position: 0 0, 0 0;
}效果如下:
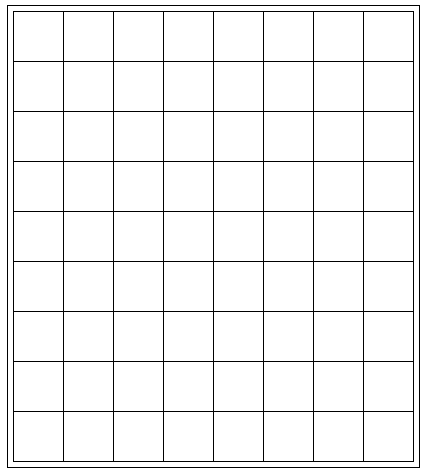
在最外层加一层边框有非常多办法,这里我们简单使用 outline 配合 outline-offset 即可:
.g-grid {
  width: 401px;
  height: 451px;
  background: repeating-linear-gradient(
      #000,
      #000 1px,
      transparent 1px,
      transparent 50px
    ), repeating-linear-gradient(90deg, #000, #000 1px, transparent 1px, transparent
        50px);
  background-repeat: no-repeat;
  background-size: 100% 100%, 100% 100%;
  background-position: 0 0, 0 0;
  outline: 1px solid #000;
  outline-offset: 5px;
}
这样,一个架子就差不多了:
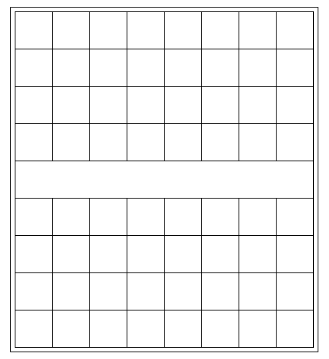
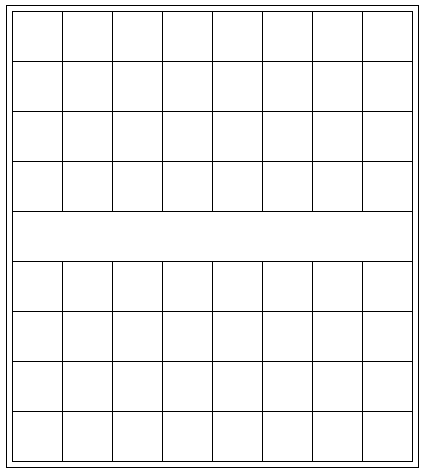
当然,棋盘中间的一行,是没有格子的。要将上述渐变代码处理一下,可以分成上下两块,利用 background-size 和 background-position 进行分隔。
当然,我们也可以在最上层直接再叠一层纯白色渐变:
.grid {
  // ...
  background: // 最上层叠加一层白色渐变
    linear-gradient(#fff, #fff), // 下面两个重复线性渐变实现网格
    repeating-linear-gradient(
        #000,
        #000 1px,
        transparent 1px,
        transparent 50px
      ), repeating-linear-gradient(90deg, #000, #000 1px, transparent 1px, transparent
        50px);
  background-repeat: no-repeat;
  background-size: calc(100% - 2px) 49px, 100% 100%, 100% 100%;
  background-position: 1px 201px, 0 0, 0 0;
}
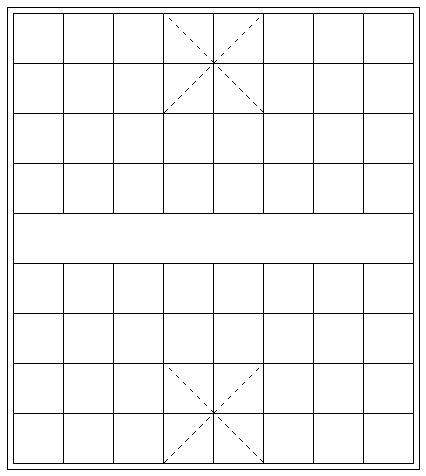
到这里,其实核心还都是渐变,目前共 3 层渐变,得到这样一个效果:
利用渐变实现交叉虚线十字
OK,我们继续,我们需要基于上述的基础,得到两个交叉虚线十字,像是这样:
这里其实真的有难度。想象一下,如果给你一个 DIV,去实现其中一个,可以怎么做呢?
通过 border 中特有的虚线 dashed?这样可能就需要两个元素设置单边的虚线边框,然后旋转相交得到。(可以利用元素的两个伪元素,实现在一个 DOM 中)。
当然,这样的话,我们的标签就不够用了。
所以,这里我们另辟蹊径,继续使用渐变!
首先,打个样,如果是一个 100px x 100px 的 DIV,可以怎么利用渐变去画交叉虚线十字呢?
<div></div>div {
position: relative;
margin: auto;
width: 100px;
height: 100px;
border: 1px solid #000;
background: linear-gradient(
45deg,
transparent 0,
transparent calc(50% - 0.5px),
#000 calc(50% - 0.5px),
#000 calc(50% + 0.5px),
transparent calc(50% + 0.5px),
transparent 0
);
}我们首先利用渐变,实现一条 1px 的斜线,注意这里的渐变是从透明到黑色到透明,实现了一条 45° 的斜线。
我们再反 45° 过来,利用多重线性渐变,实现透明到白色的渐变效果:
div {
  position: relative;
  margin: auto;
  width: 100px;
  height: 100px;
  border: 1px solid #000;
  background: // 渐变 1
    repeating-linear-gradient(
        -45deg,
        transparent 0,
        transparent 5px,
        #fff 5px,
        #fff 10px
      ), // 渐变 2
    linear-gradient(
        45deg,
        transparent 0,
        transparent calc(50% - 0.5px),
        #000 calc(50% - 0.5px),
        #000 calc(50% + 0.5px),
        transparent calc(50% + 0.5px),
        transparent 0
      );
}
这样,我们就得到了一条虚线:
好吧,这一步有一些同学可能会有一点疑惑,怎么变过来的。
我把上面渐变 1的透明色改成黑色,就很好理解了:
想象一下,上图的黑色部分,如果是透明的,就能透出原本的那条斜线没有被白色遮挡住的地方。
这里,需要提一下,在渐变中,越是先书写的渐变,层级越高。
好,有了上面的铺垫,我们基于上面的代码,再继续利用渐变,把上下两个交叉虚线十字补齐即可:
.g-grid {
  width: 401px;
  height: 451px;
  outline: 1px solid #000;
  outline-offset: 5px;
  background: // 最上层的白色块,挡住中间的网格
    linear-gradient(#fff, #fff), // 实现网格布局
    repeating-linear-gradient(
        #000,
        #000 1px,
        transparent 1px,
        transparent 50px
      ), repeating-linear-gradient(
      90deg,
      #000,
      #000 1px,
      transparent 1px,
      transparent 50px
    ),
    // 棋盘上方的虚线1
    repeating-linear-gradient(
        -45deg,
        transparent 0,
        transparent 5px,
        #fff 5px,
        #fff 10px
      ), linear-gradient(
      45deg,
      transparent,
      transparent calc(50% - 0.5px),
      #000 calc(50% - 0.5px),
      #000 calc(50% + 0.5px),
      transparent calc(50% + 0.5px),
      transparent 0
    ), // 棋盘上方的虚线2
    repeating-linear-gradient(
        45deg,
        transparent 0,
        transparent 5px,
        #fff 5px,
        #fff 10px
      ), linear-gradient(
      -45deg,
      transparent,
      transparent calc(50% - 0.5px),
      #000 calc(50% - 0.5px),
      #000 calc(50% + 0.5px),
      transparent calc(50% + 0.5px),
      transparent 0
    ),
    // 棋盘下方的虚线1
    repeating-linear-gradient(
        -45deg,
        transparent 0,
        transparent 5px,
        #fff 5px,
        #fff 10px
      ), linear-gradient(
      45deg,
      transparent,
      transparent calc(50% - 0.5px),
      #000 calc(50% - 0.5px),
      #000 calc(50% + 0.5px),
      transparent calc(50% + 0.5px),
      transparent 0
    ), // 棋盘下方的虚线2
    repeating-linear-gradient(
        45deg,
        transparent 0,
        transparent 5px,
        #fff 5px,
        #fff 10px
      ), linear-gradient(-45deg, transparent, transparent calc(50% - 0.5px), #000
        calc(50% - 0.5px), #000 calc(50% + 0.5px), transparent calc(50% + 0.5px), transparent
        0);
  background-repeat: no-repeat;
  background-size: calc(100% - 2px) 49px, 100% 100%, 100% 100%, // 交叉虚线 1
    100px 100px, 100px 100px, 100px 100px, 100px 100px, // 交叉虚线 2
    100px 100px, 100px 100px, 100px 100px, 100px 100px;
  background-position: 1px 201px, 0 0, 0 0, // 交叉虚线 1
    151px 0, 151px 0, 151px 0, 151px 0, // 交叉虚线 2
    151px 350px, 151px 350px, 151px 350px, 151px 350px;
}
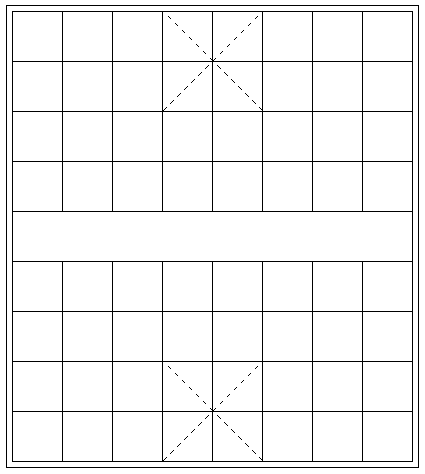
嚯,这渐变代码确实复杂了点,但是其实每一块的作用都是很清晰的,这样,我们的棋盘就变成了这样:
借助伪元素及 box-shadow 实现剩余符合
到这里,我们仅仅使用了元素本身,要知道,我们还有元素的两个伪元素没使用。要实现的只剩下多个的这个符合:
因为一共要实现 12 个这样的符号,有的符合还是不完整的,所有这些要在剩余的元素的两个伪元素中完成。可选的方法思来想去,也只有 box-shadow 了。
利用 box-shadow 能够非常好的复制自身。这个技巧其实也反复讲过非常多次了。
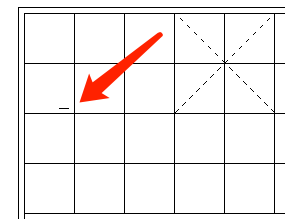
我们首先利用元素的一个伪元素,在这个位置,实现一个短横线:
代码大致如下:
.g-grid {
  // ...
  &::before {
    content: '';
    position: absolute;
    top: 95px;
    left: 35px;
    width: 10px;
    height: 1px;
    background: #000;
  }
}
我们利用 box-shadow 复制自身,可以完成一半横线效果。当然这里由于是个镜面布局,可以利用镜像 -webkit-box-reflect: below 减少一半的代码:
.g-grid {
  // ...
  &::before {
    content: '';
    position: absolute;
    top: 95px;
    left: 35px;
    width: 10px;
    height: 1px;
    background: #000;
    box-shadow: 20px 0, 0 10px, 20px 10px, 300px 0, 320px 0, 300px 10px,
      320px 10px, -30px 50px, -30px 60px, 50px 50px, 50px 60px, 70px 50px,
      70px 60px, 150px 50px, 150px 60px, 170px 50px, 170px 60px, 250px 50px,
      250px 60px, 270px 50px, 270px 60px, 350px 50px, 350px 60px;
    -webkit-box-reflect: below 259px;
  }
}
效果如下:
最后,利用另外一个伪元素,完成另外一半的竖向横线即可:
.g-grid {
  // ...
  &::before {
    // ...
  }
  &::after {
    // ...
    box-shadow: 10px 0, 0 20px, 10px 20px, 300px 0px, 300px 20px, 310px 0,
      310px 20px, -40px 50px, -40px 70px, 50px 50px, 50px 70px, 60px 50px,
      60px 70px, 150px 50px, 150px 70px, 160px 50px, 160px 70px, 250px 50px,
      250px 70px, 260px 50px, 260px 70px, 350px 50px, 350px 70px;
    -webkit-box-reflect: below 260px;
  }
}
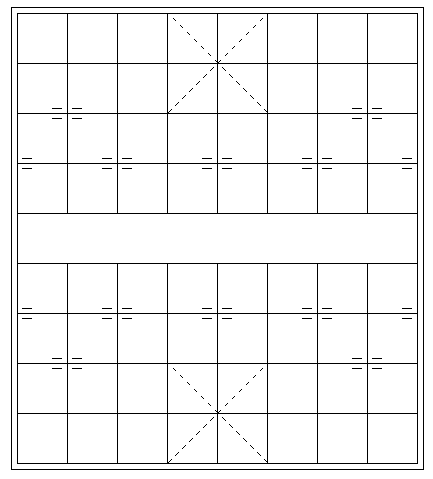
这样,我们就在一个标签内,得到这样一个效果:
当然,还剩下楚河、汉界 4 个字,这个也简单直接加在 div 中即可,配合一些简单的 CSS 调整,整个效果就在一个标签内完成啦:
好,实际中我确实不太推荐这么去写,纯粹是为了实现而实现,少了很多代码可读性的考量。因此,本文更多的是给大家带来一些思路,当遇到类似的问题的使用能够有更多的灵感。

